Managing apps
Apps can be managed in the Slingr Developer Portal. From there, you will be able to manage apps, endpoints, organizations, handle developer permissions, set up billing, and view invoices, etc.
App Creation
👉 To create a new app, simply click the Create app from scratch button located in the Home section of Slingr.
👉 You can also create new apps from the Apps section by clicking the + Create Apps button
Then, you will be asked to complete the following fields:
Label: This is a human-friendly name for your app. It can contain spaces and special characters. The label will be used in your app in different places, like the header or the title of the browser.Name: This is the internal name of your app. It’s required and cannot contain spaces or special characters, and it must be unique. It will be used as the subdomain of your app:<app-name>.slingrs.io.
App owner: You can choose to be the owner of the app or select an organization that you belong to.Plan: This is the plan your app will run on. You can choose between three different plans depending on your needs:Slingr Personal Plan: This plan has a free 15-day trial period and is useful to understand the platform and learn how to use it, however, it is not suited for complex or production apps.Slingr Professional Plan: This is an isolated environment with a fixed price that allows developers to have personal apps for a reasonable price. It has some limitations.Slingr Business Plan: Here you can start to have an isolated production environment with a fixed price, it gives greater possibilities than the previous plans.Slingr Enterprise Plan: This is a usage-based plan meant for applications in production environments that need dedicated resources and outstanding performance. There are no limitations with the Slingr Enterprise Plan.
You can see the full comparison in Pricing and Billing.
Template: You can choose to start from scratch, with an empty app, or you can choose one of the available templates. Here you will find global templates created by other people, or you can also create your own templates. See App templates for more information.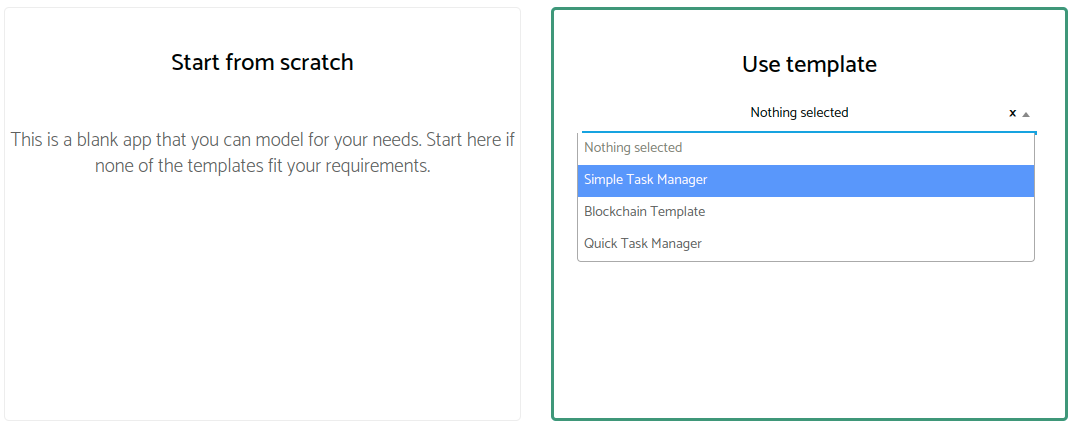
When you select a template, you might decide to make it linked by setting the flag
Linked, which is only available if you selectSlingr Enterprise Planas the plan.If this flag is set, the new app will be linked to the template. This means that the new app will only have a production environment, and when changes are synced in the template app, those changes will be applied to this new app as well. If you don’t set this flag, only a development environment will be created using the app template. However, it will be completely independent of the original app, which means new changes in the template won’t affect the new app, and vice versa.
By default, when you create a new app, only the development environment (unless you have set the Linked flag) is created with the selected plan.
Additionally, your developer account will be set as the admin, owner, and developer for the new app.
App settings
Once an app is created, you will see the following options:
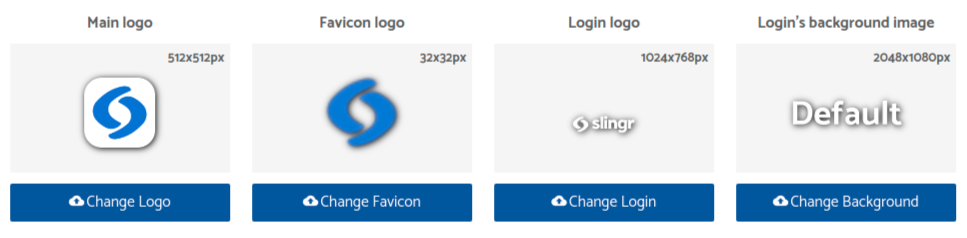
Label: This is a user-friendly name of your app that was provided during the creation process. You can change the app’s label at any time.Description: This is an internal description of your app. This field is for internal use or, if the app is a template, it will be used as the template’s description.App logos: These are the logos, favicon, and background of the app. They will be displayed in different places, such as theDeveloper portal, your app’s header, the browser’s title, etc. We recommend using a transparent background, but you are free to choose any.
Any changes you make to these settings will be applied immediately.
App Environment Settings
Apps can have three different environments:
Development: This is the main environment that developers will use to make their changes. It’s the default environment.Staging: This environment can be used as a buffer between development and production. Additionally, when you are in production, and you need to fix something, this environment is ideal to apply hotfixes inProductionwithout syncing all the changes inDevelopment.Production: This is the production environment your users will access. This environment does not have the builder component because you should never change your app directly in production.
👉 By default, a new app will only have the Development environment, but you can easily add new ones as
you need them.
👉 Each app environment has the following settings:
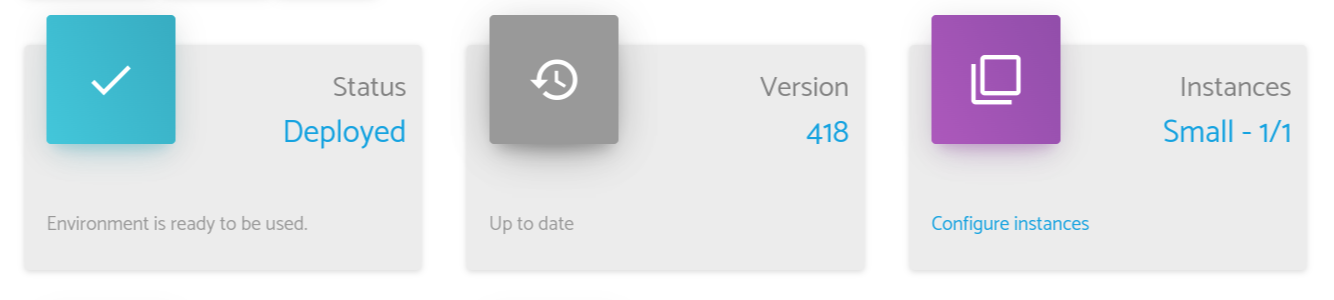
Status: This card shows the current runtime health and lifecycle of the environment. It now displays:- Deployment status (as it does today). If the value is different than
Deployed, it could be that some maintenance work is going on (for example, the platform is being upgraded) or there is a problem and you should contact support. - Sleep status: one of
awake,putting to sleep,sleeping, orwaking up. - Auto-sleep policy enabled:
True/False.
- Deployment status (as it does today). If the value is different than
Version: This is the current version your app is running on. We periodically release new updates to the platform, and we automatically update apps when that’s possible. You can set the upgrade strategy for your apps. See Upgrade Strategy for more information.Instances: This is the number of runtime instances for this environment. The more instances you have, the more requests and work your environment can handle, so this is a good way to scale your app. Keep in mind that more instances also mean more usage, so be sure you understand how Pricing and Billing work in your plan. It could be that not all instances are available at all times, for example, when you just added them, or there is some maintenance work. In that case, it will be shown how many instances are deployed and running out of the desired number of instances. Apart from the number of instances, you can also configure the size of each instance. You will need bigger instances as your app gets more complex. Don’t worry; we will notify you if your instances are running out of resources. Here you should consider upgrading the size of your instance. The available sizes are:Small (1GB): This is the default size for apps. It is meant for small apps.Medium (2GB): This is for medium apps.Large (4GB): This is for big apps when there are many entities, views, listeners, endpoints, etc.
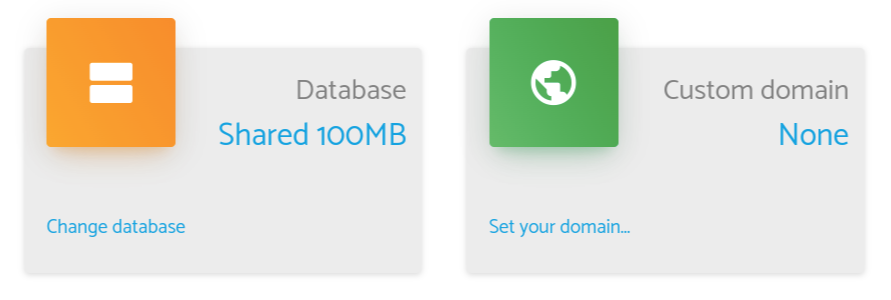
Database: Just adding more instances might not work to scale your app as there is a point where the database will be the bottleneck. When you reach that point (usually we try to size the database based on data size, so you know when to switch), you should update the database of the app environment from here. Please take a look at Pricing and Billing to understand how this will impact your invoice.Custom domain: By default, your app will be available at<appname>.slingrs.io; however, you can use your domain as well, for example,myapp.com. To do that, you need to own the domain and have a valid SSL certificate. Just click onSet your domain, and you will be asked to enter the domain and SSL certificate information. Upon creation you will be provided with an external IP to be configured on your domain provider.
Manage environment sleep status
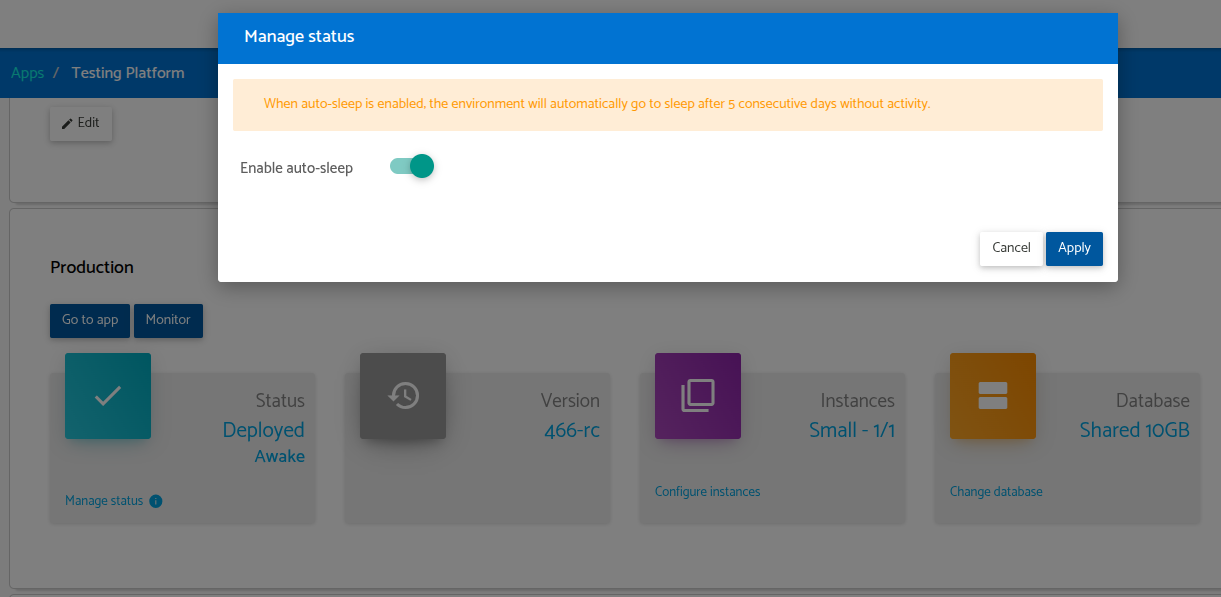
In order to optimize the usage of cluster resources, app admins can manage the sleep status of each environment from the Status card through the Manage status link.
When you click this link, a modal opens. Its options depend on the current sleep status of the environment:
Status:
awake- Auto-sleep:
True/False(toggle). Disabled by default. If enabled, the environment will be put to sleep after reaching a certain threshold of inactivity (5 days exactly). Activity refers to user logins.
- Auto-sleep:
Status:
putting to sleep- The
Manage statuslink is not available while the environment is transitioning.
- The
Status:
sleeping- A button to wake up the environment is available.
Status:
waking up- The
Manage statuslink is not available while the environment is transitioning.
- The
There are a few cases that need changes in settings that deserve more attention:
Scaling Up and Down Your App
The way to scale your app is by adding more instances. How many instances you need depends on your app and the load it has, so it is hard to say how many users or API requests an instance can handle.
What we recommend is to watch out for the response time of your app and add more instances when you see it goes above your maximum desired value or when you see that the waiting time of background jobs is growing. You can check those things in the app monitor.
Also, keep in mind that adding more instances might not help if the database is the bottleneck. In this case, you should upgrade your database to take advantage of the additional instances. You can check the slow queries report in the app monitor to see if the database is the bottleneck.
The same way you can add instances, you can remove them. When you do that, some instances will be gracefully stopped and undeployed until the desired number of instances is met.
Changing the Database
If you are upgrading from a shared database to another shared database, in most cases, it won’t mean any downtime, and the data size limit will be updated immediately. If it happens that we need to do some migrations, we will notify you, and you should confirm before proceeding.
If you are upgrading from a database in shared servers to one in dedicated servers, a migration will be needed, and your app will be down during that time.
If you are upgrading from a database in dedicated servers to another database in dedicated servers, migration can be done without any downtime.
Keep in mind that you will only be able to downgrade your database if the data size fits in the new database type.
Manage Developers and Admins
When you create an app, you automatically become the admin owner and a developer for it. However, you can add permissions to other developers to work in your app or give them admin permissions.
Developers

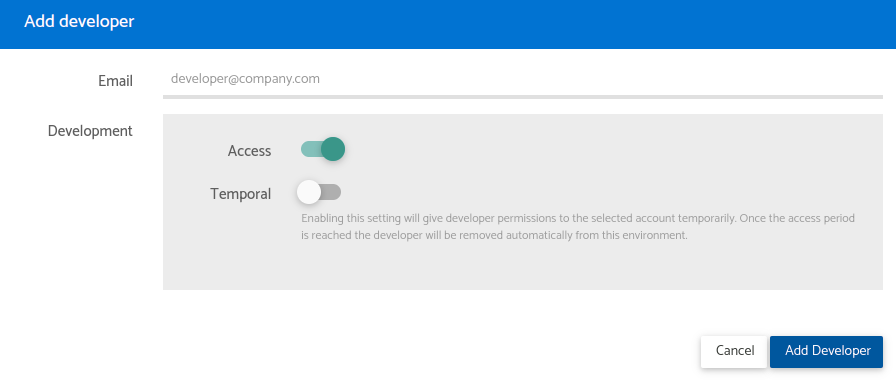
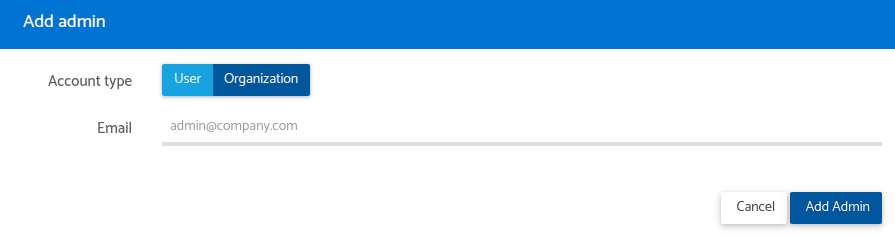
In the Developers section of the app details, you can add more developers by entering the email associated with their developer accounts. Once you add a developer, you can choose which environments they will have access to.
When you give access to one environment, the developer will be able to use all components in it, such as runtime, builder, and monitor. Additionally, a user will be created in the environment for that developer. So, if you go to the screen to manage users in that environment, you will see the developer listed as a user. These users will belong to the Developers group and cannot be modified (you can only assign new groups, but cannot change the password, name, etc.). They will be automatically managed and synced. For example, if the developer changes their password, it will be updated in all apps.
One important thing about developer users is that permissions defined in the app won’t affect developers as they always have permissions for everything. The exception is when you assign groups to the developer in that app. If you do so, the developer user will use those groups’ permissions by default.
If you need to test permissions while developing your app, you should create other regular users, assign groups to your developer user in that app, or use the "Switch groups" option available in the user menu of the app runtime.
Admins
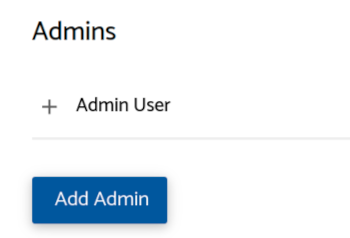
👉 In the Admins section of the app details, you can indicate which developer accounts will
have admin permissions over the app.
👉 Admins can perform the following actions:
- Add/remove developers
- Change general settings of the app
- Change settings of the app environment
👉 Furthermore, there is only one admin who is also the owner of the app (by default, the creator of the app). The owner can perform the following actions:
- Add/remove admins
- Transfer ownership to another admin
- Put the app to sleep or wake it up
- Delete the app
👉 Ownership can be transferred by adding a new admin and then, after selecting that admin, clicking on
the button Transfer ownership to this admin.
Sleeping and Wake Up
If your app is not going to be used for a period, you can put it to Sleep. This way you can avoid charges while still keeping your app. Later, if you need it again, you can wake it up and continue using it as usual.
This can be done by clicking the buttons Sleep app and Wake up app.
Adding New Environments
When an app is created, by default, it only has a Development environment. We recommend keeping only
the development environment until you see the need for another environment.
Production Environment
If you need a Production environment, you can easily add it by clicking the Add production environment button.
When you add a production environment, it will be created based on your current development
environment. However, keep in mind that data won’t be copied. You should export and import records
from Development to Production if you need to do so.
Also, if you want developers to access the production environment, you will need to explicitly set permissions, even if they already had permissions for the development environment.
Staging Environment
Once you have a development and a production environment, you might see the need for an additional
environment to work as a buffer between development and production. This is the Staging environment,
and you can add it by clicking the Add staging environment button.
This environment is very useful for doing QA and also for performing hotfixes of issues that show up in production.
Unlink app
If you created the app from a template with the Linked flag, the app will only have a production
environment, and you won’t be able to make changes. Instead, changes are made in the template app and
synced to the clones.
If, at some point, you need to make changes to the app, you will need to unlink the app first. You can
do that by clicking on the Unlink button in the app’s details. When the app is unlinked, a
Development environment is added to the app.
Development environment in linked apps
There are cases where you need to make some changes to a linked app, but you don’t want to unlink it because you still want to get updates from the master app.
In these cases, you can add a development environment by clicking on Add development environment.
When you do this, how changes are synced will be altered. Please check the section
Pushing and Syncing changes for more details.
Delete App
If you no longer need an app, you can delete it. This will remove all instances as well as the database, which means all data will be lost.
App Templates
If you want to turn an app into a template, you can do so by enabling the Make this app a template flag. Once this option is enabled, your app will appear in the list of templates when creating new apps (inside your account only).
Cloning Apps
You can create a clone of your app by clicking the Clone App button. This will create a new app using the same plan as the current app with the selected environment. Please note that data will also be copied (up to 1,000 records per entity).
Upgrade Strategy

You can change the upgrade strategy of your app by selecting Stable or Latest. By default every app will be created with a Stable upgrade strategy. This means that your app will be running the stable version of the platform.
If you want the latest features available you can change by selecting the Latest upgrade strategy. Note that this change will be applied instantly and can take a few moments for your environments to redeploy with the new version.
If you are downgrading from a Latest to a Stable version, the setting will be saved but not applied until a new release of the platform.