Creating actions
In this section, we will learn how to add actions to our events. The purpose is to enable changing the event status without entering the edit view.
Create a ‘cancel event’ action
Let’s get started by creating an action to cancel events using a feature called Flows. This action will only be visible when the current status of the event is set to Active. Follow these steps:
👉 Right-click on the node Model > Entities > Events > Actions and select New Action from the dropdown menu.
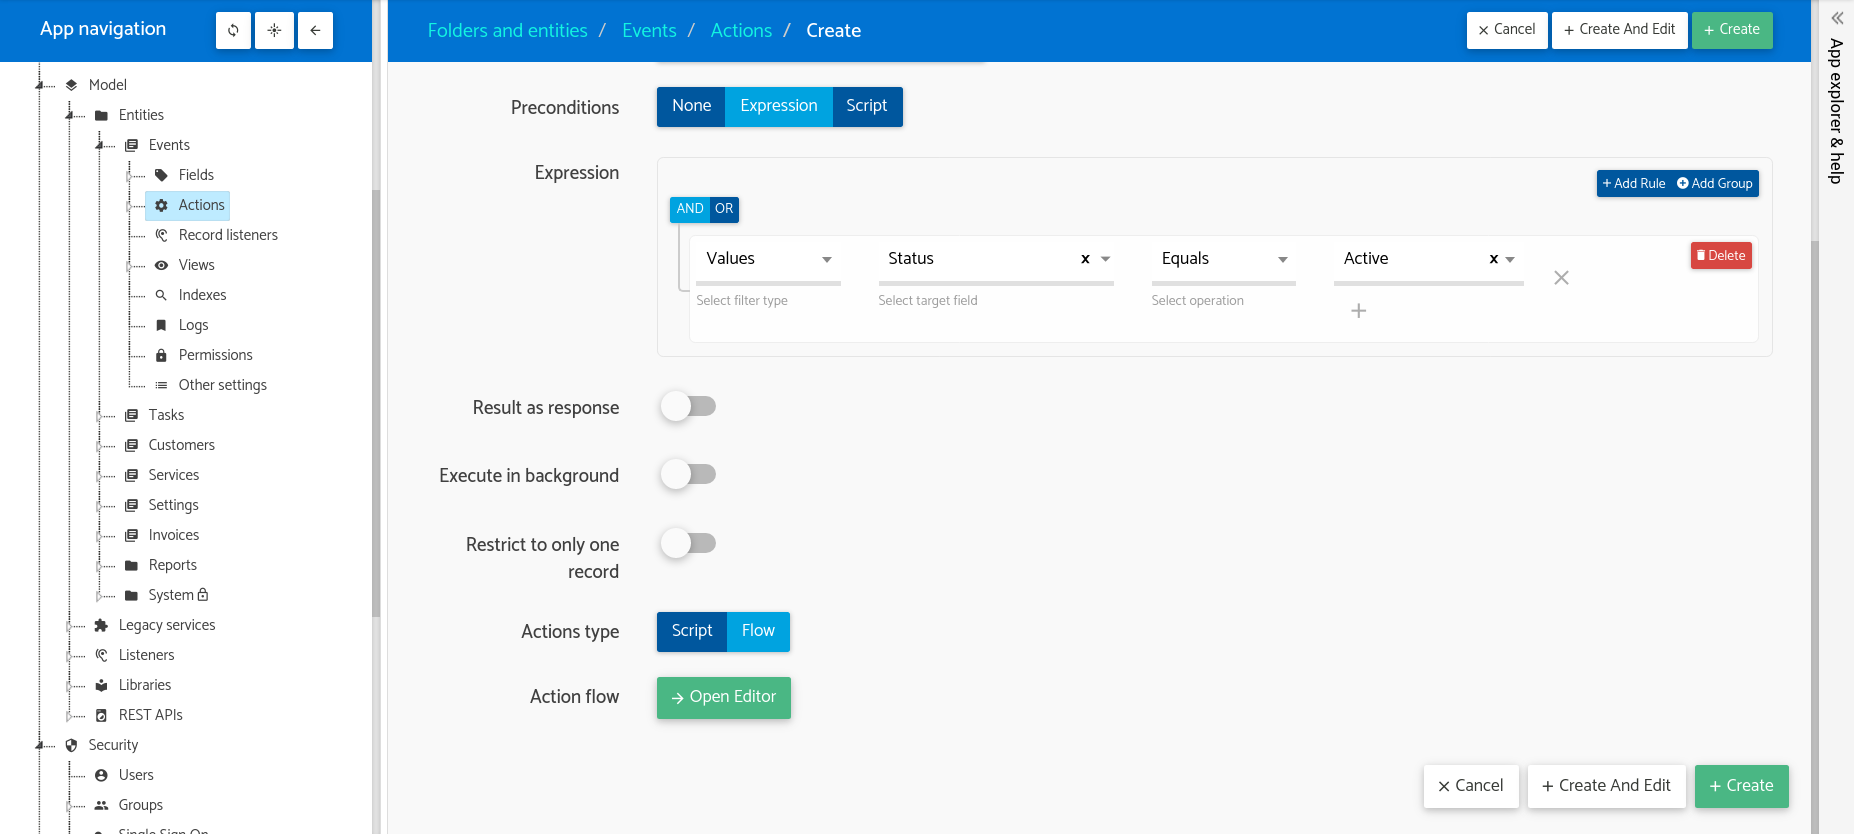
👉 Fill in the form with the following details:
   Label: Cancel Event
   Name: cancelEvent
   Type: One Record
   Visible: Always
   Preconditions: Expression
   Expression: Value > Status > Equals > Active
   Actions type: Flow

Configure action flow
👉 Click on Open Editor.
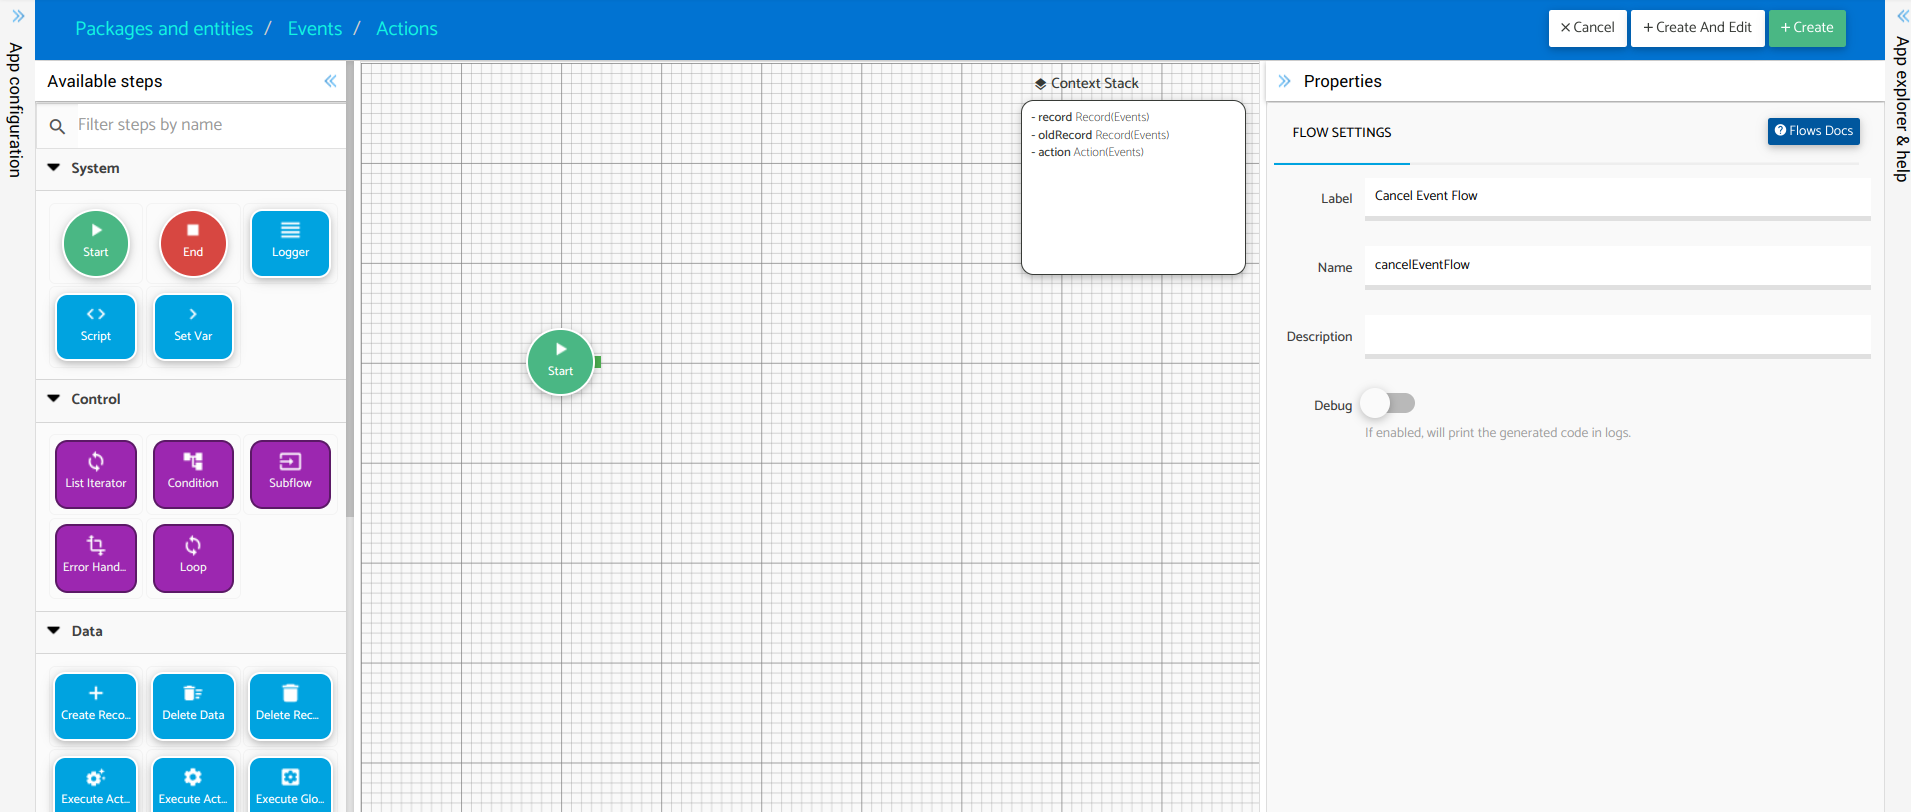
This is what we call the Flow Designer, and the boxes on the left are referred to as “steps.” Each step has different functionality, and you can connect them to build a flow. You can learn more about flows here. We are going to use it to change the status of the record.
👉 Follow these flow steps:
- Create an “Update Record” step and connect it to the “Start” step.
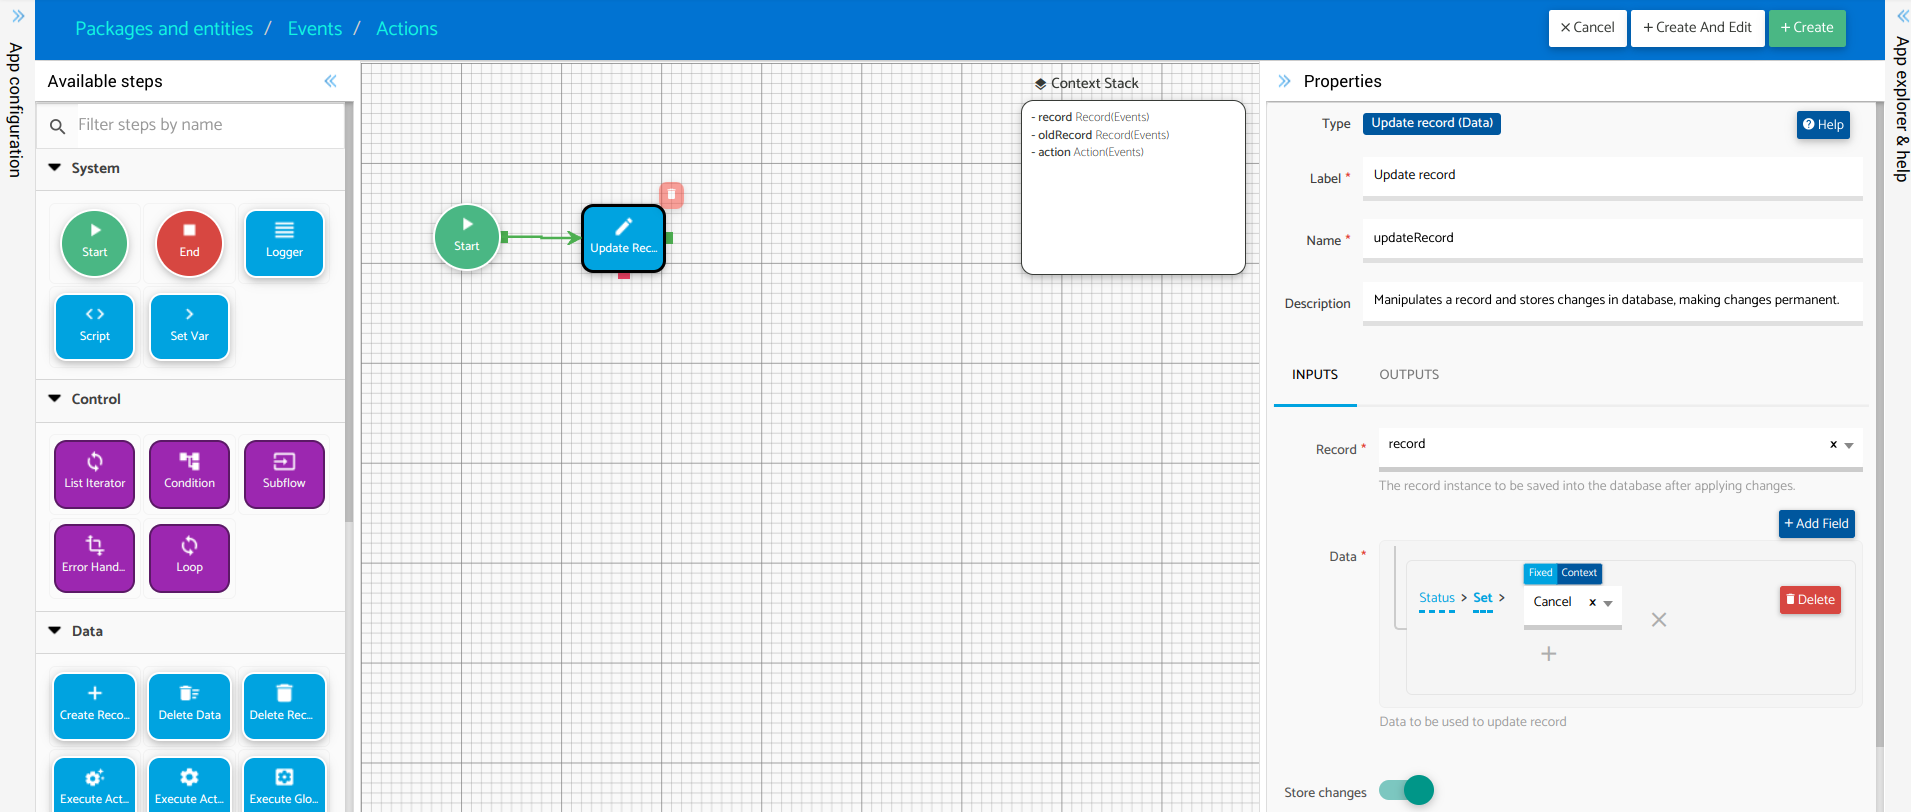
- On the right, fill the form to the following details:
      Record: record
      Data: Status > Set > Cancel
      Store Changes: true
- Create an “End” step and connect it to the “Update Record” step.
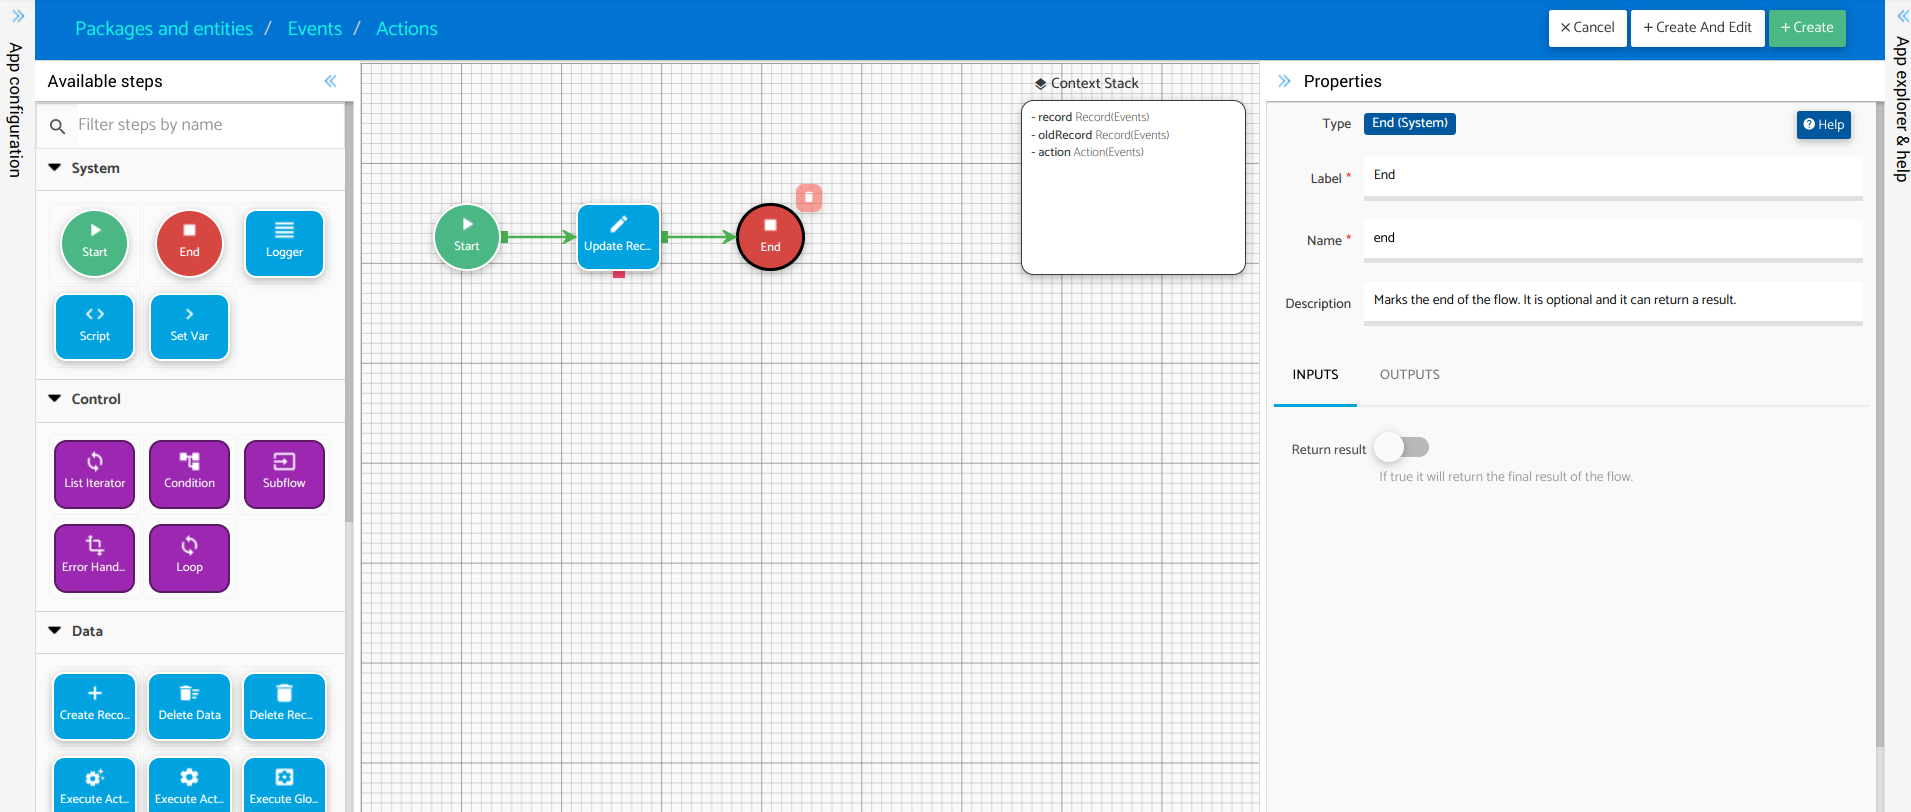
- Click on Create.
This is ready!
👉 When this action is executed that, the user will be able to set the status of an event to “Cancel” without having to edit the event record.
Create a ‘done’ action
Now, the only thing left is to create another event to transition an event from “Active” to “Done.”
We can follow the same process we just learned, but this time, we will utilize the JavaScript API offered by Slingr. You can learn more about it here.
Let’s do it:
👉 Right-click on the node Model > Entities > Events > Actions and select New Action from the dropdown menu.
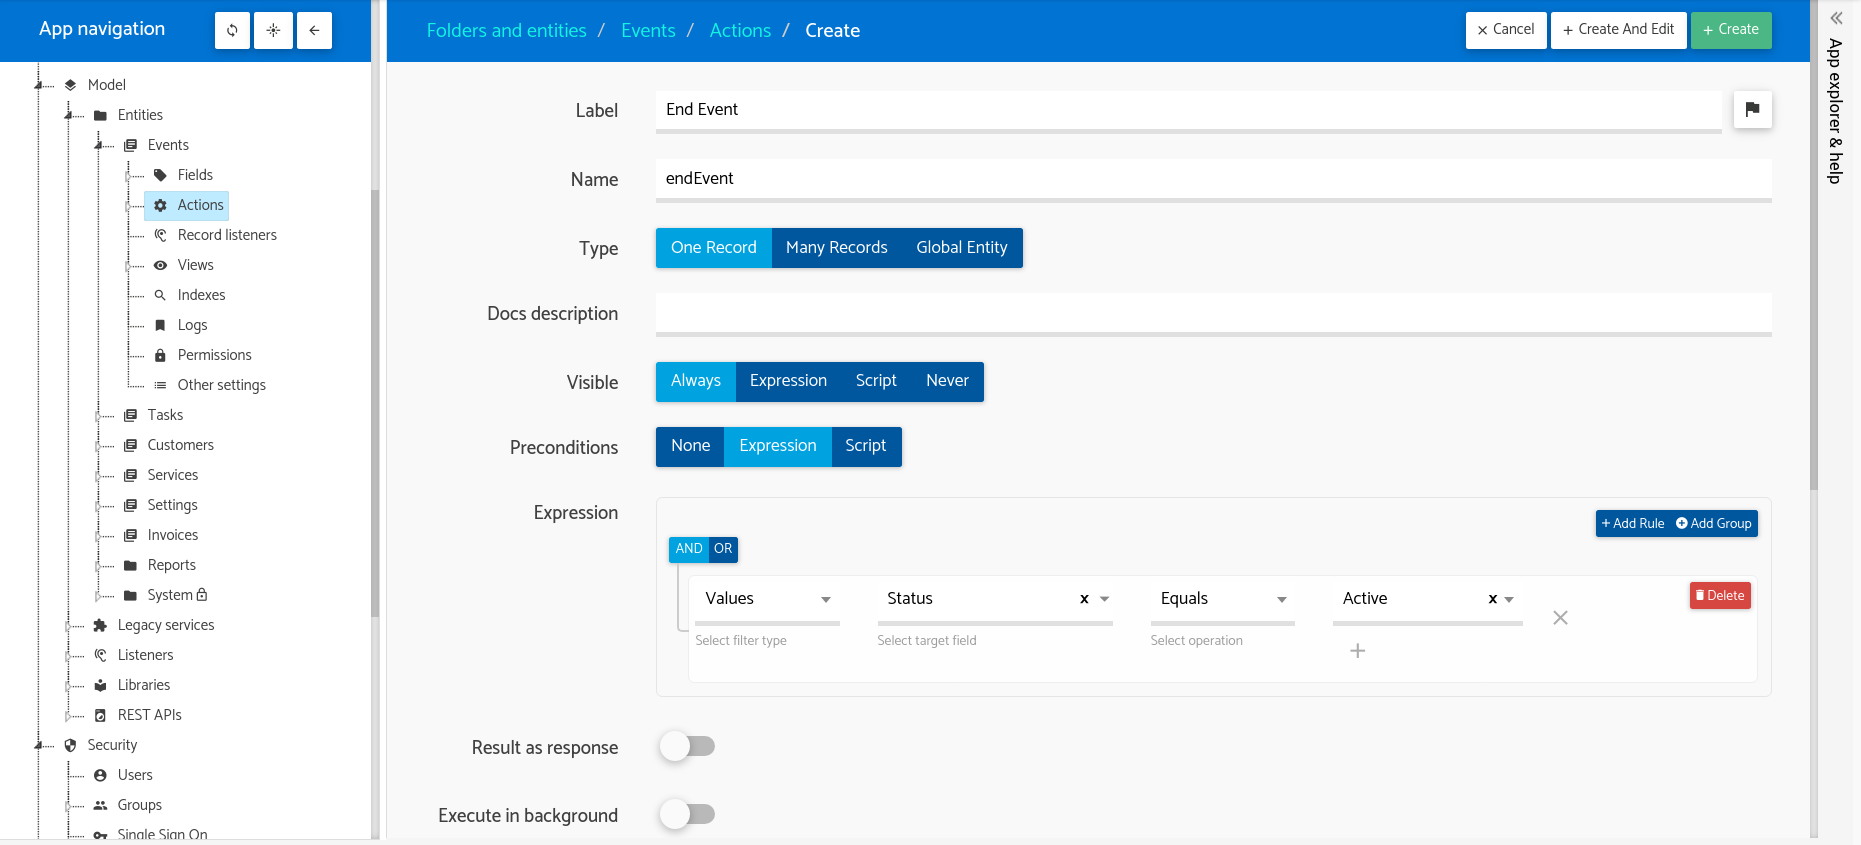
👉 Fill in the form with the following details:
Label: End Event
Name: endEvent
Type: One Record
Visible: Always
Preconditions: Expression
Expression: Value > Status > Equals > Active
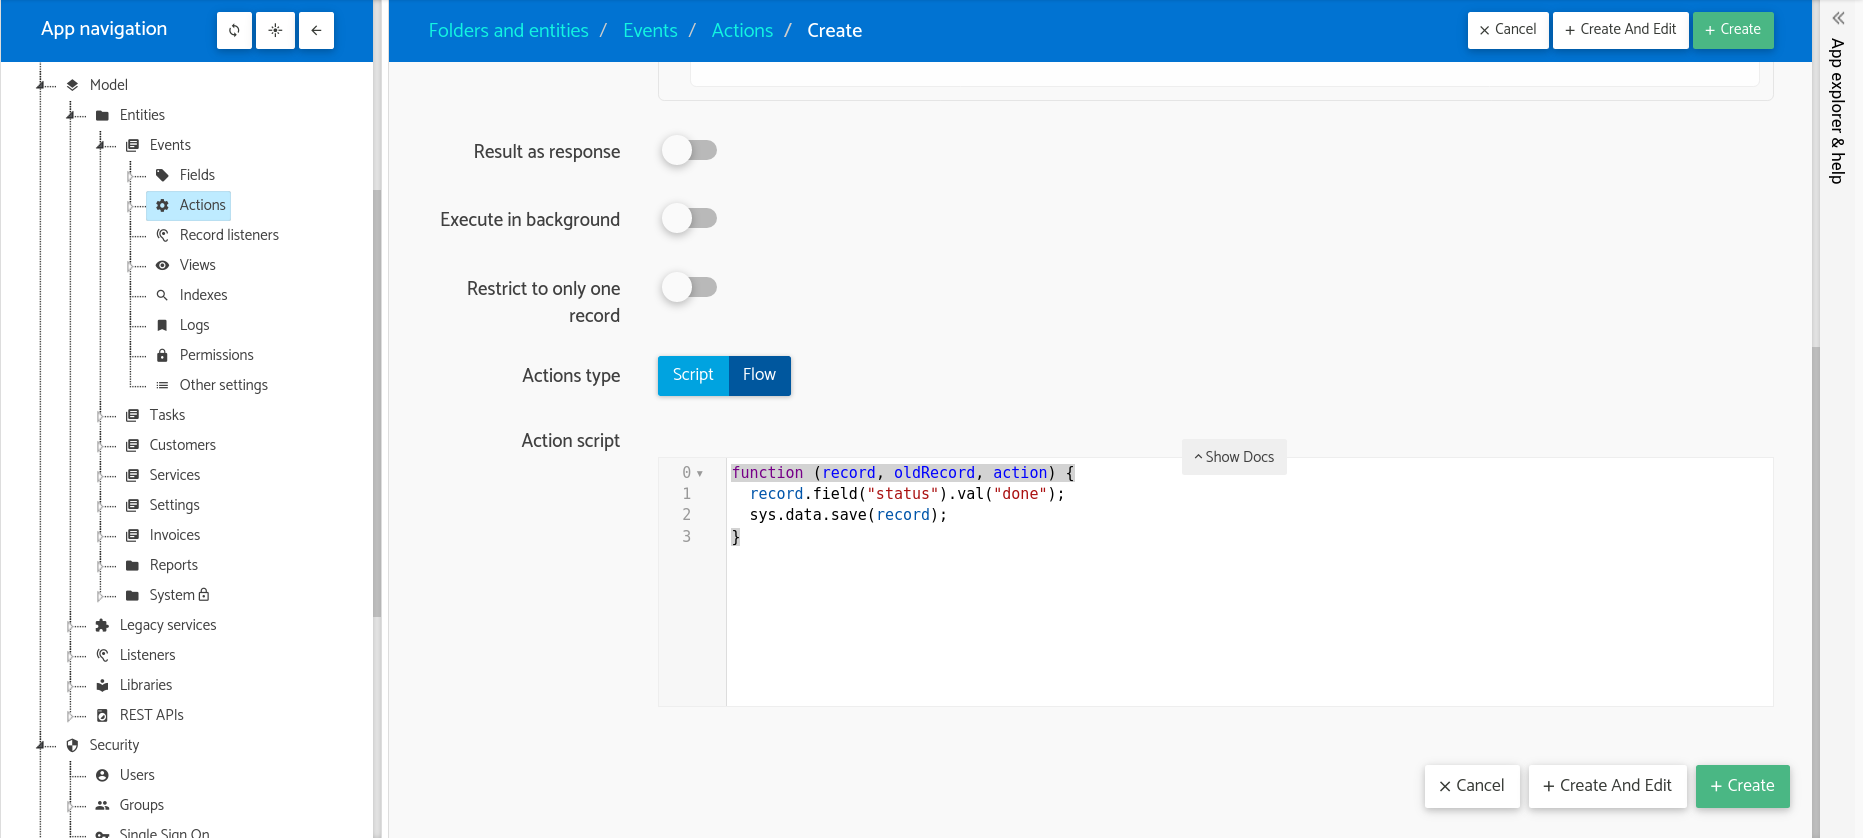
Actions type: Script
Script:
record.field("status").val("done");
sys.data.save(record);
👉 Click on Create.
👉 Push to see the changes.
That’s it! We have implemented our two actions. After pushing the changes, go to the runtime and proceed to the next section, Actions in Action, to see the results.