Actions in action
In this section, we will explore how the actions implemented in the previous section work. To get started, follow these steps:
👉 Go to the "All Events" view.
👉 Click on a record to view its details. You should see the read-only view.
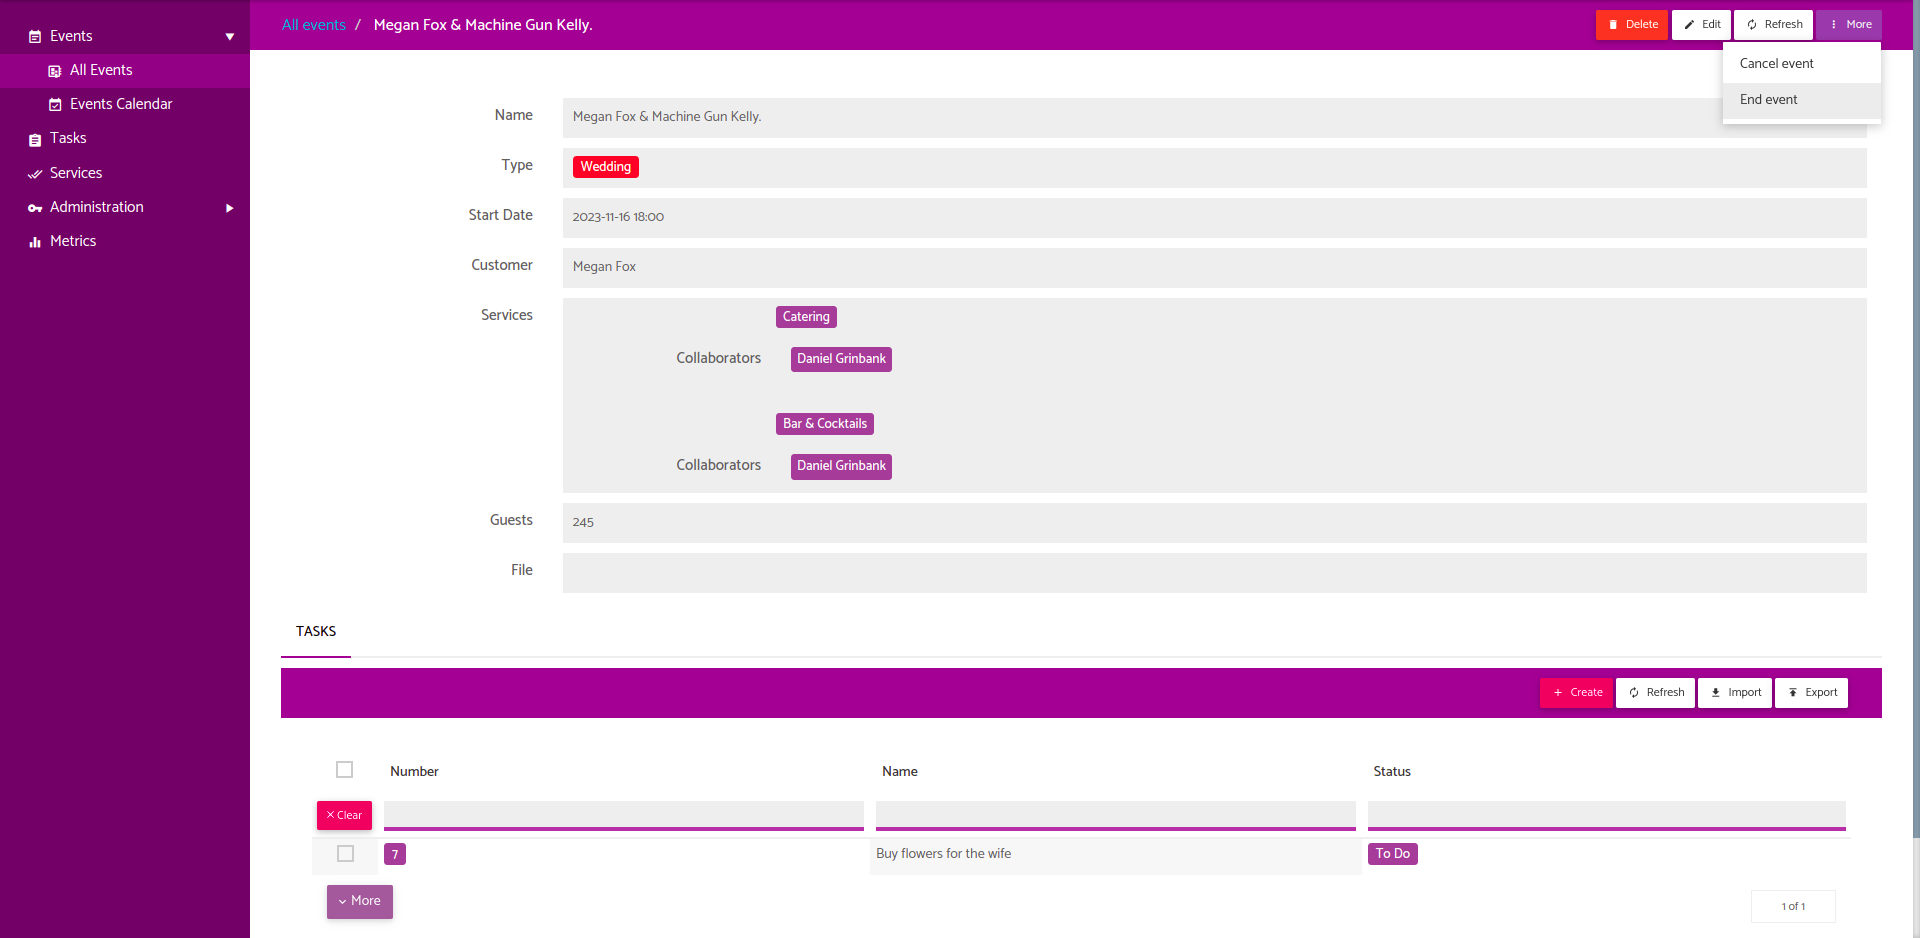
👉 In the header, you will notice a new button labeled “More.” Click on it to proceed.

👉 Both actions should now be visible, but please note that you will only see them if the status of the event is “Active.”
Execute “Cancel event” action
👉 Locate and click on the "Cancel Event" action. A confirmation popup will appear. Click on "Cancel Event" again to confirm the action.
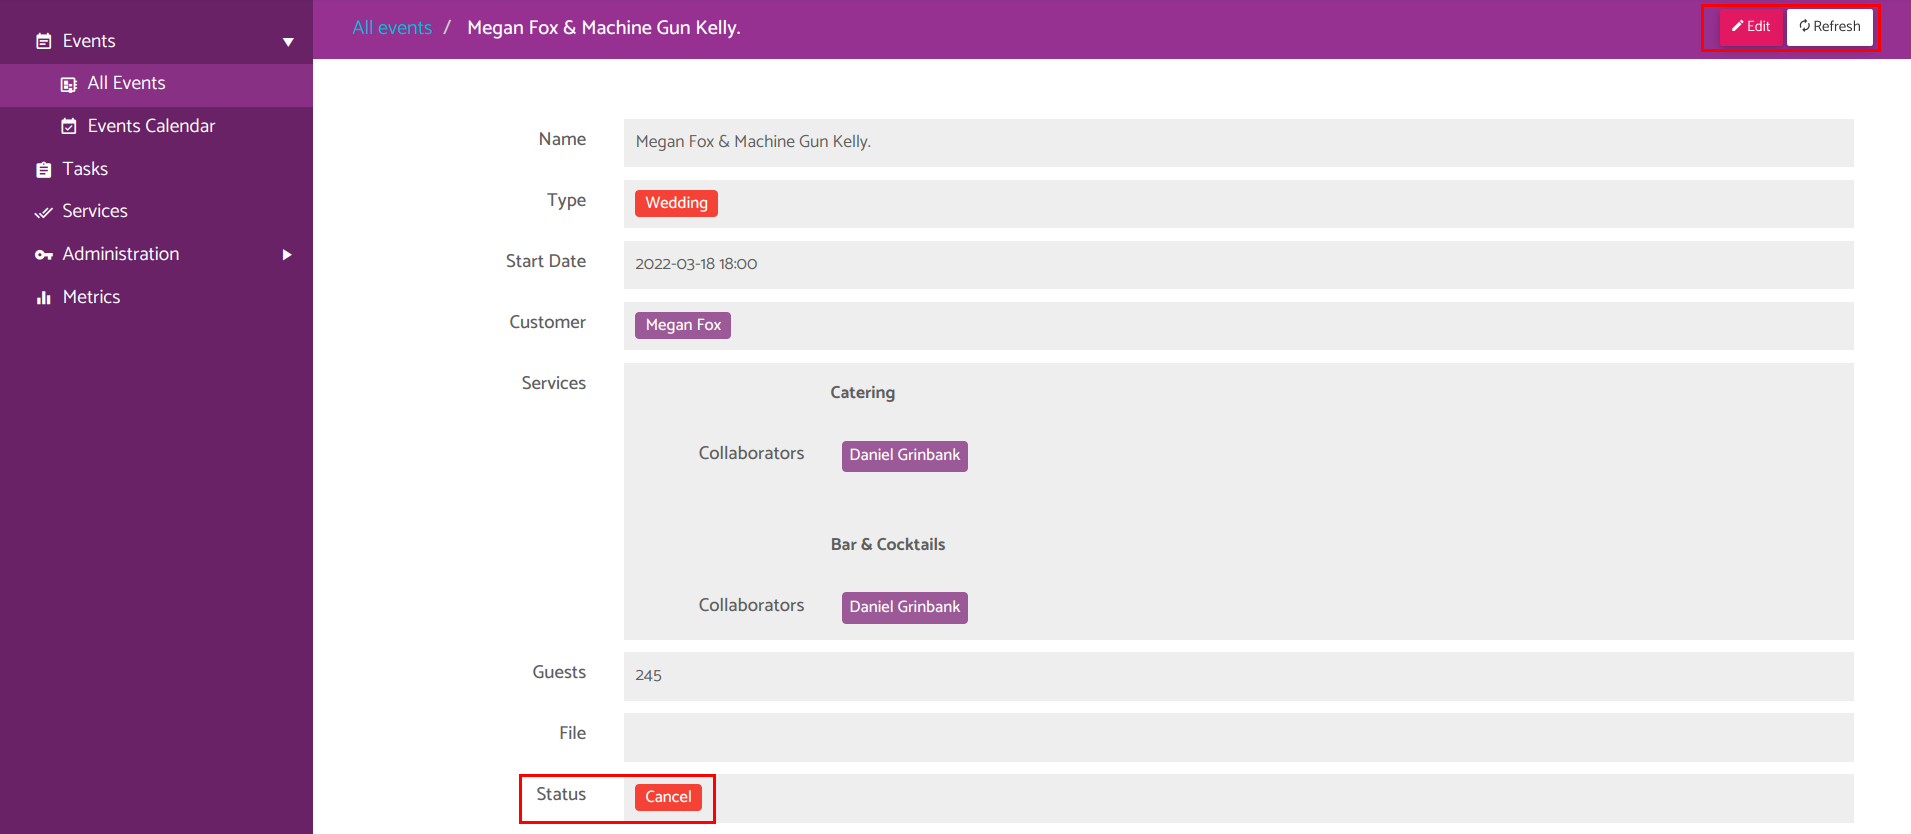
👉 Once the action has completed, the status of the event should be Cancel, and the actions should no longer be visible. It should look something like this:
Execute “End event” action
👉 Now let’s select another active event to execute the other action. In the read-only view of the other event, click on Actions, and then on End Event.
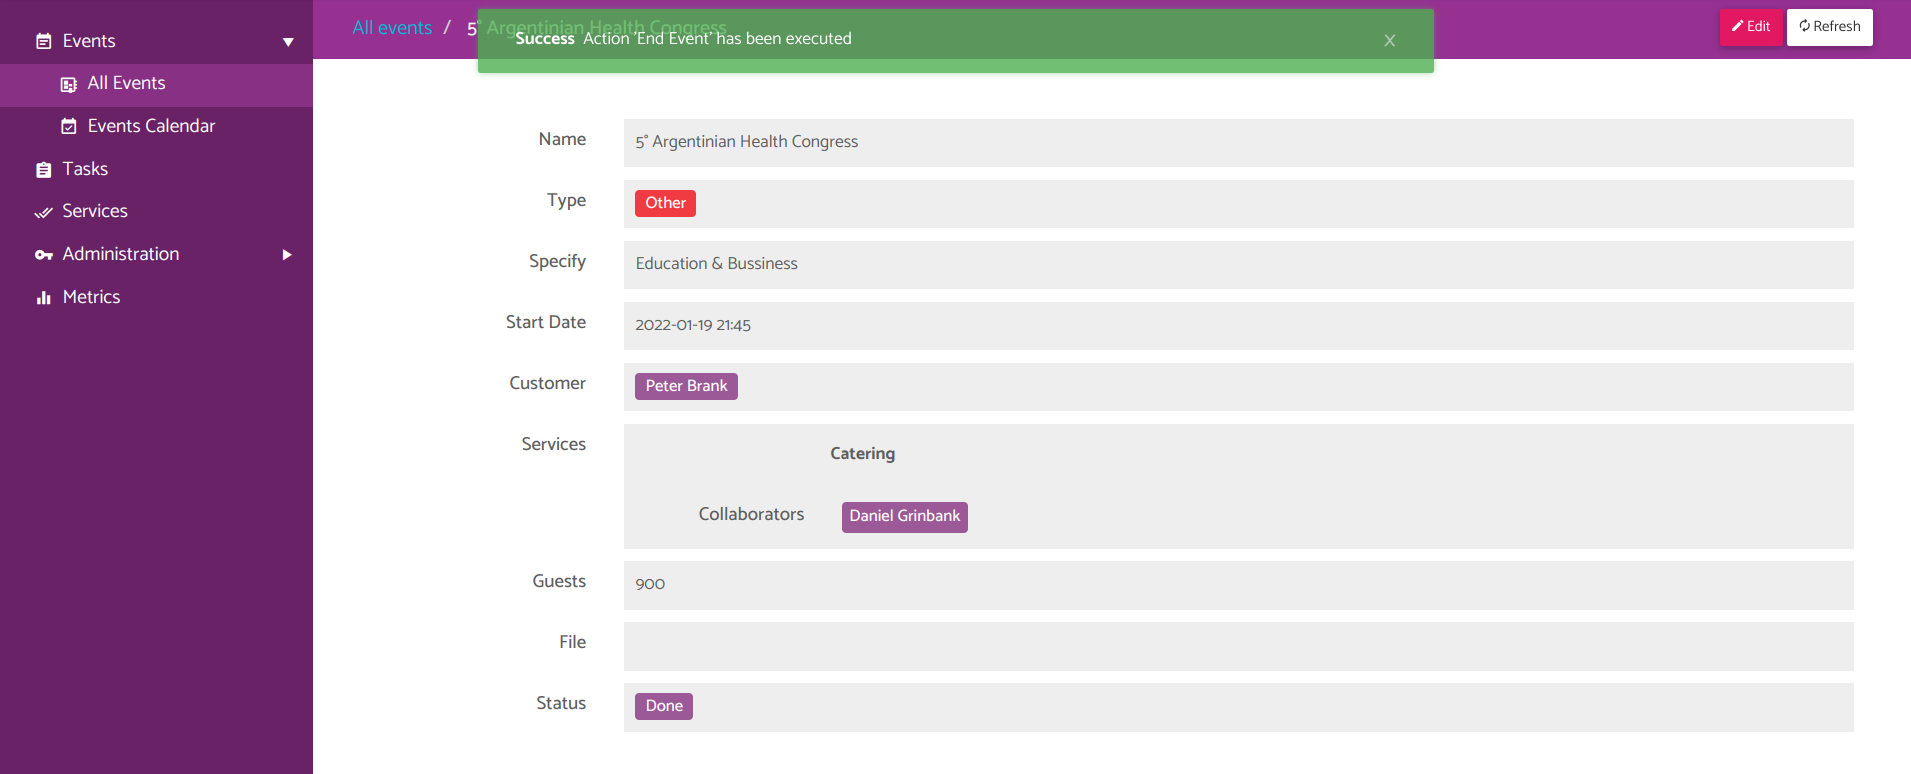
👉 A confirmation popup will appear, click on End Event. When the action completes, the status of the event should be Done. It should look something like this:
That’s it! We have finished this small tutorial.
The purpose of this tutorial was to guide you through your first steps with Slingr. If you’re interested, there’s an additional section where we make a small improvement to our app.
Feel free to join me in the next section: Small Improvement (Optional).